This article originally ran on June 12, 2012 in the Green CNY section of The Post-Standard newspaper. It features my DIY tutorial for making your own envelopes from recycled paper.
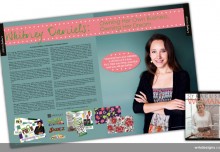
Something Old, Something New
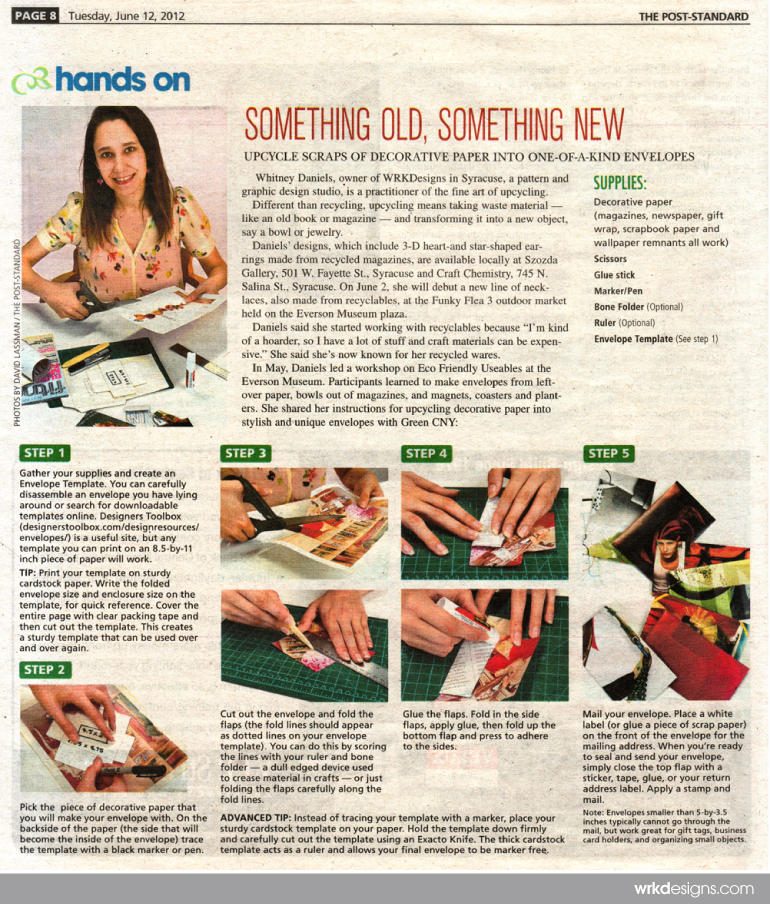
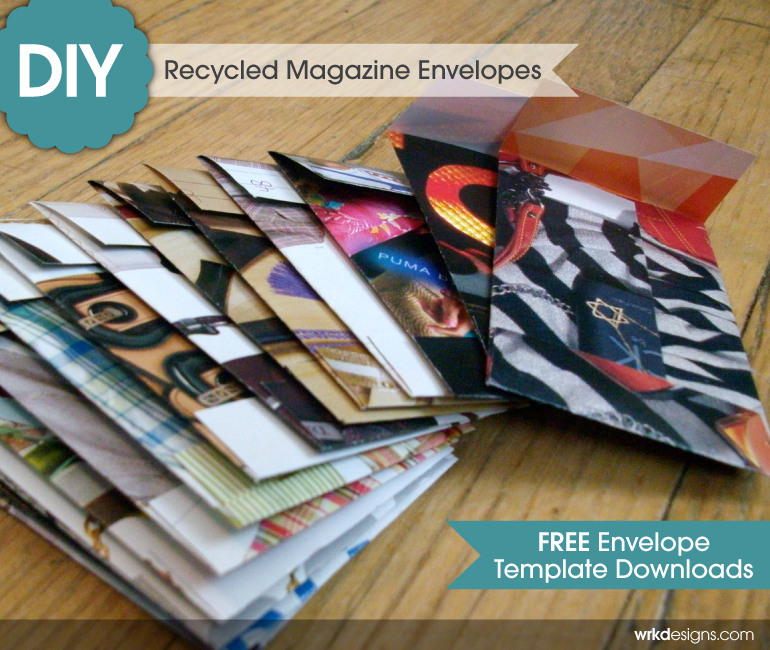
Upcycle scraps of decorative paper into one-of-a-kind envelopes.
Whitney Daniels, owner of WRKDesigns in Syracuse, a pattern and graphic design studio, is a practitioner of the fine art of upcycling.
Different than recycling, upcycling means taking waste material — like an old book or magazine — and transforming it into a new object, say a bowl or jewelry.
Daniels’ designs, which include 3D heart- and star-shaped earrings made from recycled magazines, are available locally at Szozda Gallery*, 501 W Fayette St., Syracuse and Craft Chemistry*, 745 N. Salina St., Syracuse. On June 2, she will debut a new line of necklaces, also made from recyclables, at the Funky Flea 3 outdoor market held on the Everson Museum plaza.
Daniels said she started working with recyclables because “I’m kind of a hoarder, so I have a lot of stuff and craft materials can be expensive.” She said she’s now known for her recycled wares.
In May, Daniels led a workshop on Eco Friendly Useables at the Everson Museum. Participants learned to make envelopes from leftover paper, bowls out of magazines, and magnets, coasters and planters. She shared her instruction for upcycling decorative paper into stylish and unique envelopes with Green CNY:
Supplies:
- Decorative Paper (magazines, newspaper, gift wrap, scrapbook paper and wallpaper remnants all work)
- Scissors
- Glue Stick
- Marker/Pen
- Bone Folder (Optional)
- Ruler (Optional)
- Envelope Template (See Step 1)
 Step 1:
Gather your supplies and create an Envelope Template. You can carefully disassemble an envelope you have lying around or search for downloadable templates online. Designers Toolbox is a useful site, but any template you can print on an 8.5-by-11 inch piece of paper will work.
*(Update Note: Or you can download my FREE envelope templates here.)
TIP: Print your template on a sturdy cardstock paper. Write the folded envelope size and enclosure size on the template, for quick reference. Cover the entire page with clear packing tape and then cut out the template. This creates a sturdy template that can be used over and over again.
Step 2:
Pick the piece of decorative paper that you will make your envelope with. On the backside of the paper (the side that will become the inside of the envelope) trace the template with a black market or pen.
ADVANCED TIP: Instead of tracing your template with a marker, place your sturdy cardstock template on your paper. Hold the template down firmly and carefully cut out the template using an Exacto knife. The thick cardstock template acts as a ruler and allows your final envelopes to be marker free.
Step 3:
Cut out the envelope and fold the flaps (the fold lines should appear as dotted lines on the envelope template). You can do this by scoring the lines with your ruler and bone folder — a dull edged device used to crease material in crafts — or just folding the flaps carefully along the fold lines.
Step 4:
Glue the flaps. Fold in the side flaps, apply glue, then fold up the bottom flap and press to adhere to the sides.
Step 5:
Mail your envelope. Place a white label (or glue a piece of scrap paper) on the front of the envelope for the mailing address. When you’re ready to seal and send your envelope, simply close the top flap with a sticker, tape, glue, or your return address label. Apply a stamp and mail.
Note: Envelopes smaller than 5-by-3.5 inches typically cannot go through the mail, but work great for gift tags, business card holders, and organizing small objects.
* (Update Note: Unfortunately these shops are now closed, but you can still purchase my recycled magazine earrings and other goodies through my Etsy Shop.)

Photos of tutorial steps by David Lassman/The Post-Standard